UPDATE – This post was originally written for HardKernel’s distribution of Ubuntu 15.10, but now has been changed to use the ODROID server image for Ubuntu 14.04 LTS, which is available from HardKernel here. The motivation for this change was to use an official HardKernel support distribution that was specifically built for headless server application. Ubuntu 14.04 LTS may be an older distribution, but it works for our purposes.
UPDATE 2 – I have since rebuilt this cluster to use Ubuntu 16.04. You can find updated instruction here.
Temporary Networking Setup
When setting up the nodes initially, you will need to SSH into them to configure their settings. However, if we go straight to our network design, we will not be able to connect to any node between the master node is not yet set up as a router. So we will need to connect each node directly to the external network (e.g., you home network).
Since the bill of materials called for a 5-port ethernet switch and there are only 4 nodes, we will start by having the external network connect directly to the switch.
Flashing the eMMC Drives
The eMMC drives I ordered from Hard Kernel came with Ubuntu 15.10 preinstalled. Due to the issues I described above, I found it best just to re-flash the drives with a fresh OS install. However, you may skip this part if you are confident your eMMC drive image is good.
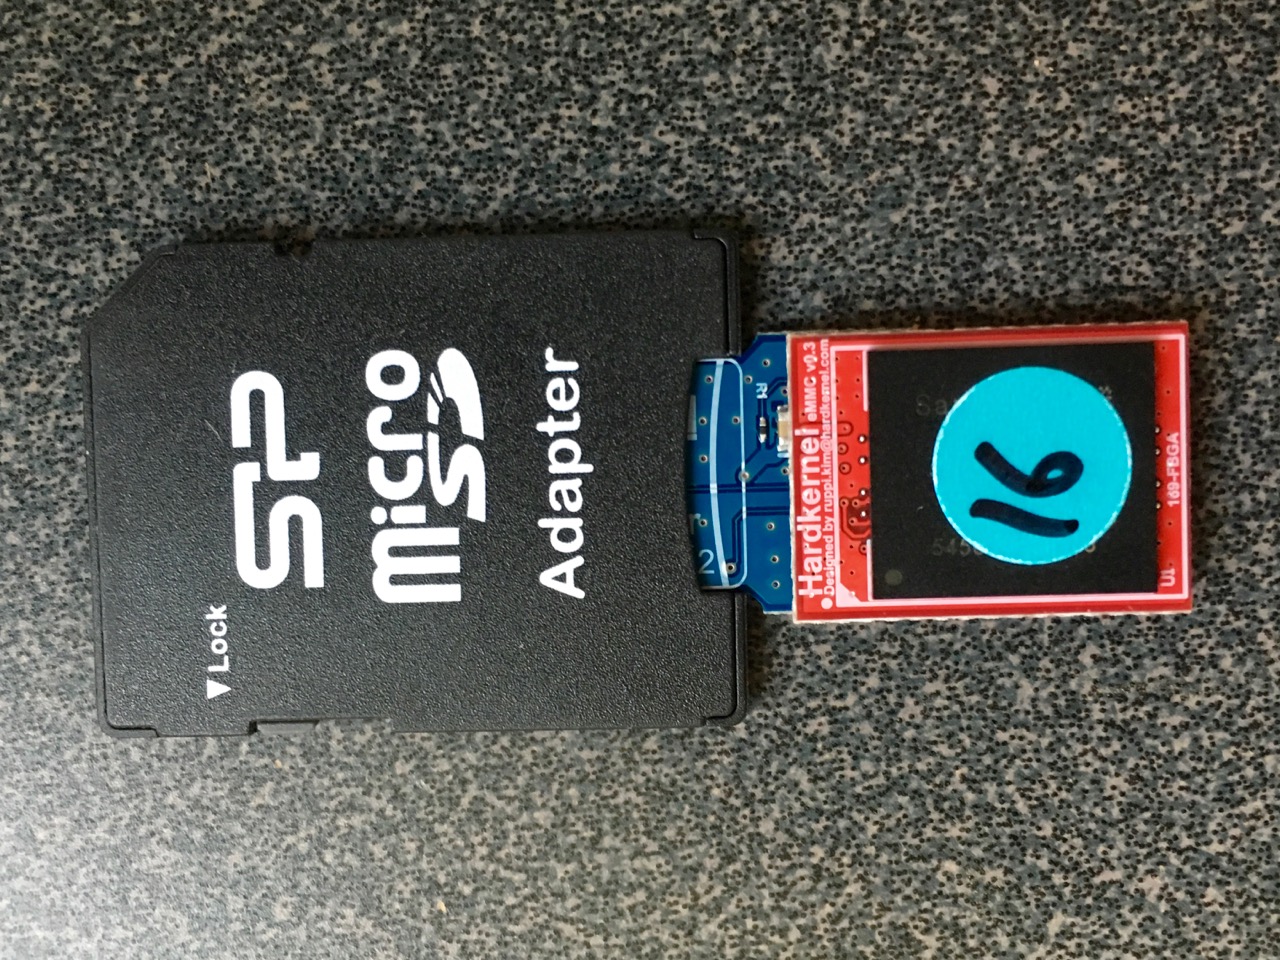
If the eMMC drives are attached to your nodes, remove them. Each drive came with a MicroSD interface that allows you to connect the drive to anything that accepts a MicroSD card. Attach the drive to this interface, then attach the interface to something that will allow you to connect the drive to your computer. My computer is a MacBook Pro, which comes with a builtin SD card reader. So I attached the eMMC drive MicroSD interface to a MicroSD to SD adapter.
After doing this, I downloaded the Ubuntu 14.04 LTS server image for the XU4 from HardKernel, which are here. From there, I followed the instructions in the XU4 user manual for flashing the drive. I describe the steps to use on OS X, since that is what I use. Please refer to the XU4 manual for other platforms.
Once downloading the Ubuntu image, uncompress it:
xz -d /path/to/compressed-ubuntu-image-file
Then, for each eMMC drive to be flashed, do the following steps. Attach the eMMC drive to your computer using the SD card adapter. Then, you will need to find the the device name for the eMMC drive. It will have the form of /dev/diskX, and can be found by using the OS X command line utility diskutil. Once the device name is found, unmount it, and then us dd to flash the Ubuntu image eMMC drive. Please be careful here. If you mistype the device name, you could seriously mess up the drive on your computer.
diskutil list
diskutil unmountdisk /dev/diskX
sudo dd of=/dev/diskX bs=1m if=/path/to/ubuntu-14.04lts-server-odroid-xu3-20150725.img
Configuring the Operating System
After all the eMMC drives have been flashed, attached them to the XU4s in the cluster. Then power up the ethernet switch, but do not yet add power to any node. Then, repeat the following steps for each of the nodes in the cluster. For the sake of ordering, start with the master node. Before starting, ensure that the MicroSD card is not attached to a node, and unsure that the XU4s’ boot selector switch is set to the eMMC drive.
- Attach the power to the node. You will hear the node’s fan whirl and see the various LEDs on the device flash. The default configuration of the OS we flashed has the device grab an IP address from a DHCP server. Since the cluster switch is connected to your home network right now, the device should grab an IP address from your house router. Log into your router or use a network scanning utility to find the IP address assigned to the node that just booted. I use iNet Network Scanner from my iPad. there is also an iPhone version.
- Once you have the device’s IP address, remotely SSH into it using the account odroid and password odroid. From the terminal on your personal computer:
ssh odroid@192.168.1.50
If you get the login prompt but cannot login with the ordroid account, that means the odroid account wasn’t created as part of the Ubuntu image. Login instead as user root with password odroid. Then, add the odroid user with:
adduser odroid
adduser odroid sudo
apt-get update
apt-get upgrade
exit
You will be prompted for a password and other information. Once completed, exit out and log into the machine with user odroid.
- We need to get and record the hardware MAC address for each node. This will be needed in the next post when we set up the router service. Issue the command
ifconfiginto the shell that you just opened on the newly booted XU4. You will get a bunch of text that looks something like this:eth0 Link encap:Ethernet HWaddr 00:1e:06:32:2a:7f inet addr:192.168.1.116 Bcast:192.168.1.255 Mask:255.255.255.0 inet6 addr: fe80::21e:6ff:fe32:2a7f/64 Scope:Link UP BROADCAST RUNNING MULTICAST MTU:1500 Metric:1 RX packets:589 errors:0 dropped:0 overruns:0 frame:0 TX packets:146 errors:0 dropped:0 overruns:0 carrier:0 collisions:0 txqueuelen:1000 RX bytes:110461 (110.4 KB) TX bytes:20988 (20.9 KB) lo Link encap:Local Loopback inet addr:127.0.0.1 Mask:255.0.0.0 inet6 addr: ::1/128 Scope:Host UP LOOPBACK RUNNING MTU:65536 Metric:1 RX packets:16 errors:0 dropped:0 overruns:0 frame:0 TX packets:16 errors:0 dropped:0 overruns:0 carrier:0 collisions:0 txqueuelen:0 RX bytes:1216 (1.2 KB) TX bytes:1216 (1.2 KB)<span id="mce_marker" data-mce-type="bookmark"></span>Look for the block that has the
inet addrwith the same value as the IP address that you logged into, and in that section look for theHWaddritem. What follows is the MAC address for the onboard ethernet device. Record it in association with what node it is for. On the master node with the USB ethernet dongle attached, you can runifconfig -ato get all available network interfaced. Theeth1block will be the USB ethernet dongle’s network interface. You will want to record the dongle’s MAC address so that you can set up a static DHCP IP address assignment in your home network’s router (see your router’s manual for instructions). - Install and run a very useful tool called Odroid Utility made by Hard Kernel. To do this, issue the following commands:
sudo -s
wget -O /usr/local/bin/odroid-utility.sh https://raw.githubusercontent.com/mdrjr/odroid-utility/master/odroid-utility.sh
chmod +x /usr/local/bin/odroid-utility.sh
odroid-utility.sh
- You are going to do three things in this utility:
- Name the Node – The “Change Hostname” menu option will give you the opportunity to name the node. Name the node with the ethernet dongle
master, and the other threeslave1,slave2, andslave3. - Turn off Xorg – We are running these nodes as headless servers. The Ubuntu image you just flashed runs a GUI by default. We don’t need our nodes loaded with that overhead, so wee need to turn off the X server that gets launched by default. Use the menu item “Xorg On/Off” to do this.
- Resize the Boot Drive – When you flashed the the eMMC drive, it created the root file system with a 4 GB partition. The drives we ordered were 16 GB, and the smallest you can buy are 8 GB. Either way, there is unclaimed space on your drive. Use the “Resize your root partition” menu option to resize the root file system to make available all remaining space on the eMMC drive.
- Name the Node – The “Change Hostname” menu option will give you the opportunity to name the node. Name the node with the ethernet dongle
- Update the hosts file on the machine to define short host names for each node in the cluster. Do that by editing the hosts file:
vi /etc/hosts
Update the file’s contents to the following:
127.0.0.1       localhost
10.10.10.1      master
10.10.10.2      slave1
10.10.10.3      slave2
10.10.10.4      slave3
::1             localhost ip6-localhost ip6-loopback
ff02::1         ip6-allnodes
ff02::2         ip6-allrouters
Next, we need to turn off IPv6 on the internal cluster network. Open the following file for editing:
sudo vi /etc/sysctl.conf
Add the following lines at the end of the file:
net.ipv6.conf.all.disable_ipv6 = 1
net.ipv6.conf.default.disable_ipv6 = 1
net.ipv6.conf.lo.disable_ipv6 = 1
- Shutdown the node.
shutdown -h now
That’s it. All four nodes now have their OS set up. In the next post, we will set up the router service on the master node.
2 thoughts on “Configuring the ODROID XU4 Operating System”