![]() While installing and using Apache Hadoop on the ODROID XU4 cluster is cool, my ultimate goal was to get the more modern Apache Spark application for data analysis. In this post, we will not only install Spark, but also install the Jupyter Notebook for interacting with Spark conveniently from your computer’s browser. The installation instruction here will install Saprk and run it as a stand alone cluster in combination with the HDFS service we have previously installed.
While installing and using Apache Hadoop on the ODROID XU4 cluster is cool, my ultimate goal was to get the more modern Apache Spark application for data analysis. In this post, we will not only install Spark, but also install the Jupyter Notebook for interacting with Spark conveniently from your computer’s browser. The installation instruction here will install Saprk and run it as a stand alone cluster in combination with the HDFS service we have previously installed.
Installing Spark ends up being much simpler than installing Hadoop, but I found it to be more temperamental than Hadoop. Most notably, Spark is sensitive to the different CPU core speeds of the heterogenous octal-core CPU that the XU4 uses. If the Spark processes would run on the slower cores of the CPU, the master node would think the slave processes are timing out (missing a heartbeat), in turn restarting the executors on the slave nodes. This causes very inefficient repetition of work within the cluster. I found the best way to prevent this is to limit the Spark executors to two cores on each slave and increase the heartbeat timeout the driver uses to determine if an executor is still alive. This means for a cluster of 4 XU4 nodes with one master and three slaves, only six Spark tasks can be executed concurrently. Utilizing more cores would allow more tasks to run concurrently, and in turn the overall through put of the cluster would be better. However, the frequent restarting of executors is far more damaging to cluster throughput than using only one core per slave. Furthermore, as will be seen at the end of this post, even with just using two cores per node, Spark is faster than Hadoop on the XU4 cluster for the same word count problem.
Installing Spark
To install Spark, we first need to prepare the cluster with Spark specific data director. From the master node, issue:
parallel-ssh -i -h ~odroid/cluster/all.txt -l root "mkdir -p /data/spark"
parallel-ssh -i -h ~odroid/cluster/all.txt -l root "chown hduser:hadoop /data/spark"
Then, on each node install Python 3:
sudo apt-get install python3
Now, download and install the Spark software on the master node:
cd /opt
sudo wget http://diybigdata.net/downloads/spark/spark-2.1.0-bin-hadoop2.7-double-alignment.tgz
sudo tar xvzf spark-2.1.0-bin-hadoop2.7-double-alignment.tgz
sudo chown -R hduser:hadoop spark-2.1.0-bin-hadoop2.7-double-alignment
sudo ln -s /opt/spark-2.1.0-bin-hadoop2.7-double-alignment /usr/local/spark
Now we need to configure Spark to run in standalone cluster mode. As the hduser user on the master node:
cd /usr/local/spark/conf
cp spark-env.sh.template spark-env.sh
vi spark-env.sh
Add the following lines somewhere in the spark-env.sh file:
PYSPARK_PYTHON=python3
PYTHONHASHSEED=12121969
SPARK_DIST_CLASSPATH=$(/usr/local/hadoop/bin/hadoop classpath)
HADOOP_CONF_DIR=/usr/local/hadoop/etc/hadoop
SPARK_LOCAL_DIRS=/data/spark
SPARK_WORKER_MEMORY=1300M
SPARK_WORKER_CORES=3
SPARK_DAEMON_JAVA_OPTS="-Dspark.worker.timeout=600 -Dspark.akka.timeout=200 -Dspark.shuffle.consolidateFiles=true"
SPARK_JAVA_OPTS="-Dspark.worker.timeout=600 -Dspark.akka.timeout=200 -Dspark.shuffle.consolidateFiles=true"
Note that we are setting Spark to use Python 3 when running PySpark code. The challenge with this is that as of Python 3.2, each installation of Python 3 uses a different default seed for hashing. Hashing is used in Spark in order to create keys for storing data in each node’s RAM. If each node in a cluster used a different hash seed, nodes won’t be able to find data in another node’s storage because the hash of a given key would be different. To prevent this issue, we have to create an environment where each node has the same hash seed, which is done by setting the environment variable PYTHONHASHSEED to any 32 bit integer. By setting the environment variable in the spark-env.sh file, we can ensure that each node uses the same hash seed, at least within the scope of Spark.
Next we need to set up the defaults configuration values that Spark uses.
cp spark-defaults.conf.template spark-defaults.conf
vi spark-defaults.conf
Add the following lines to the file:
spark.master			spark://master:7077
spark.serializer		org.apache.spark.serializer.KryoSerializer
spark.executor.memory		1000M
spark.driver.memory		1000M
spark.io.compression.codec	lz4
spark.driver.cores		2
spark.executor.cores		2
Finally, we need to tell spark where the slave nodes are.
cp slaves.template slaves
vi slaves
Then add the name of each slave to the end of the file:
slave1
slave2
slave3
The final step is to copy the Spark software and configuration to each of the slaves. As the odroid user on the master node:
parallel-ssh -i -h ~odroid/cluster/slaves.txt -l root "mkdir -p /opt/spark-2.1.0-bin-hadoop2.7-double-alignment"
sudo rsync -avxP /opt/spark-2.1.0-bin-hadoop2.7-double-alignment root@slave1:/opt/
sudo rsync -avxP /opt/spark-2.1.0-bin-hadoop2.7-double-alignment root@slave2:/opt/
sudo rsync -avxP /opt/spark-2.1.0-bin-hadoop2.7-double-alignment root@slave3:/opt/
parallel-ssh -i -h ~/cluster/slaves.txt -l root "chown -R hduser:hadoop /opt/spark-2.1.0-bin-hadoop2.7-double-alignment"
parallel-ssh -i -h ~/cluster/slaves.txt -l root "ln -s /opt/spark-2.1.0-bin-hadoop2.7-double-alignment /usr/local/spark"
Installing Jupyter Notebooks
Installing Juypyter Notebooks is relatively simple. As hduser on the master node:
sudo mkdir /data/jupyter
sudo chown -R hduser:hadoop /data/jupyter/
mkdir ~/notebooks
sudo apt-get install python3-pip
sudo pip3 install jupyter
I also want to be able to use the graphing package matplotlib from within the Jupyter notebooks, so I need to install it:
sudo apt-get build-dep matplotlib
sudo pip3 install matplotlib
Starting Spark with Jupyter Notebooks
To get everything running such that you can have an interactive Spark session in Jupiter, assuming nothing is running on the cluster, issue the following commands as hduser on the master node:
/usr/local/hadoop/sbin/start-dfs.sh
/usr/local/spark/sbin/start-all.sh
XDG_RUNTIME_DIR="/data/jupyter" PYSPARK_DRIVER_PYTHON=jupyter PYSPARK_DRIVER_PYTHON_OPTS="notebook --no-browser --port=7777 --notebook-dir=/home/hduser/notebooks" /usr/local/spark/bin/pyspark --packages com.databricks:spark-csv_2.10:1.1.0 --master spark://master:7077
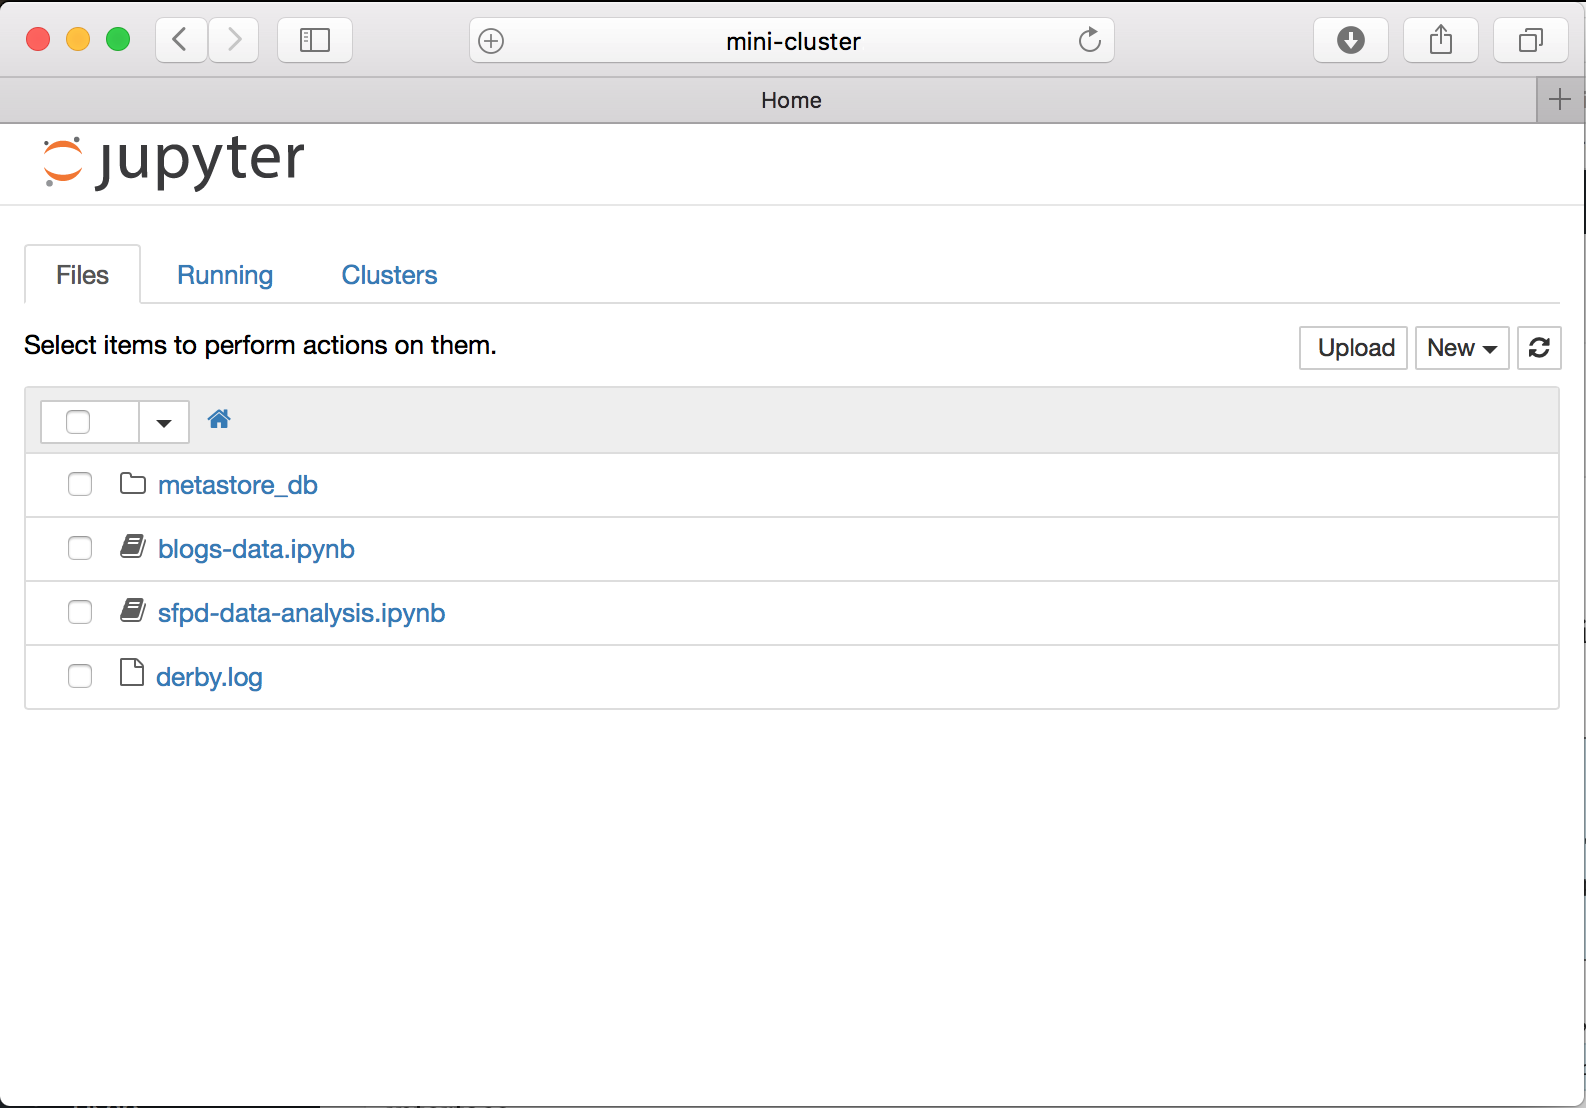
You may choose to turn these sequence of commands into a standalone launch script, but I leave that as an exercise to the reader. Once it is running, point your computer’s browser to http://<cluster IP address>:7777/. You will see the Jupyter interface.
Running the Word Count Job
Create a new Python 3 notebook by clicking on the New button in the upper right of the web page. You will now see an empty notebook.
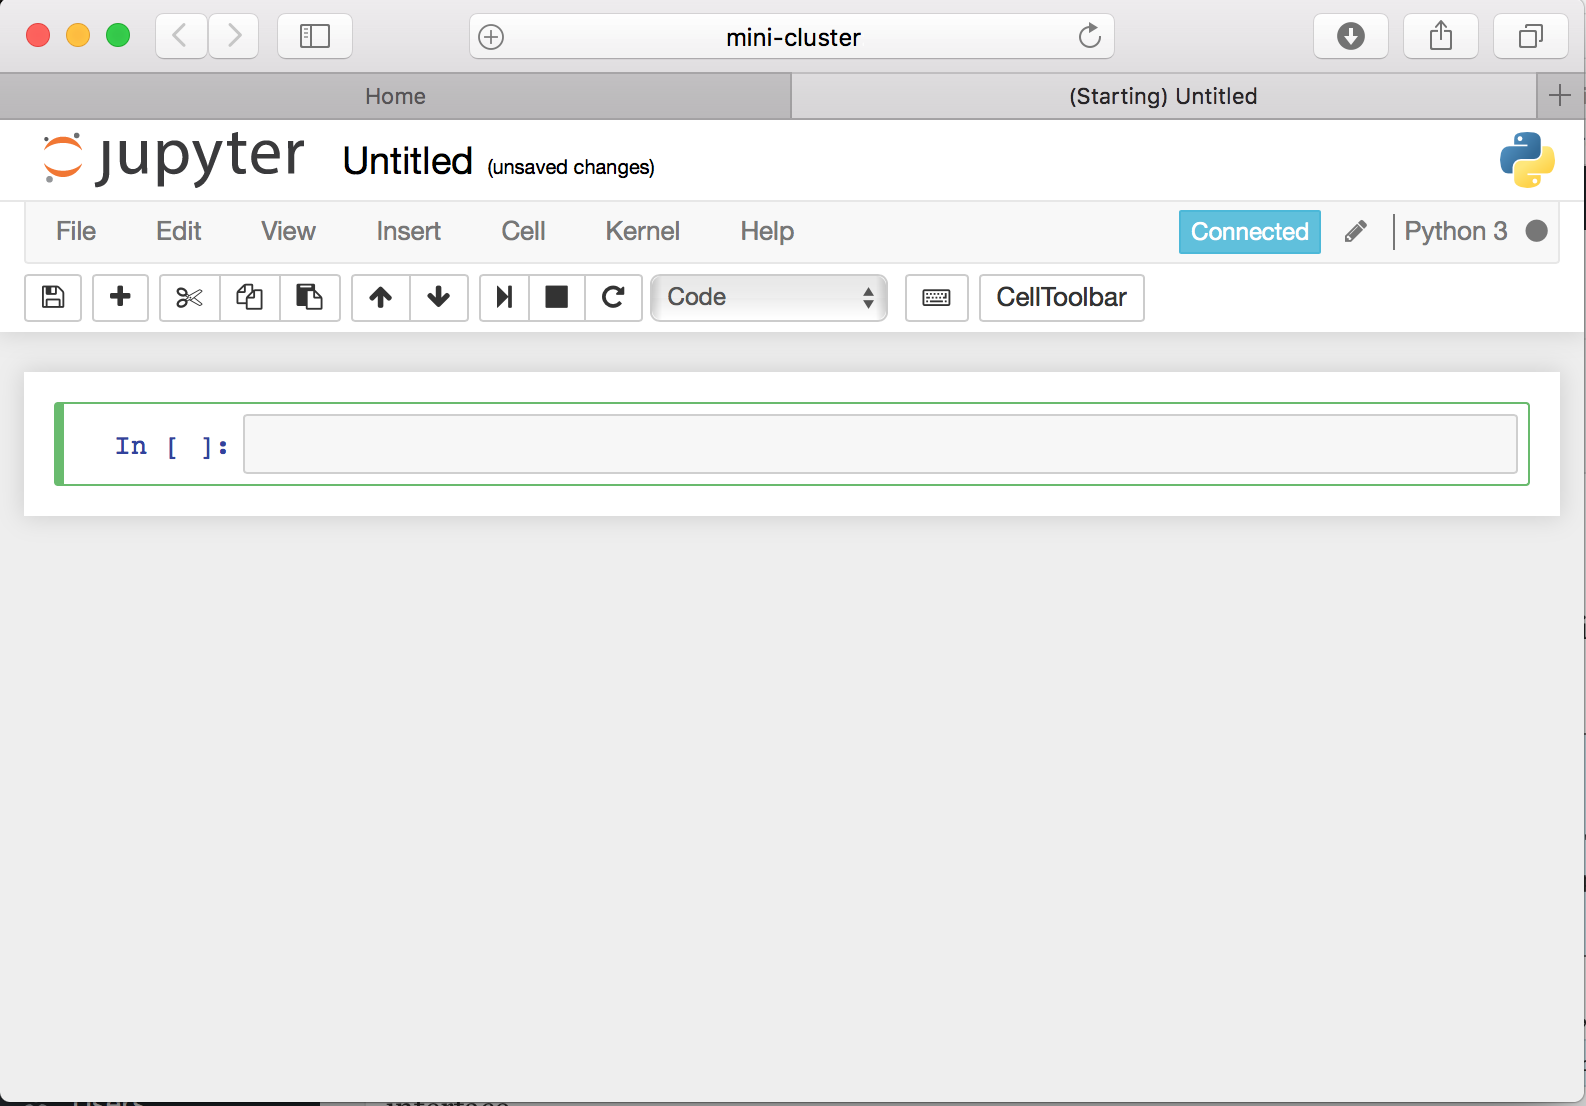
Now lets run the word count application in this notebook against the same dataset we previous ran the Hadoop version of word count. To do this, add the following text to the first cell, then press shift-enter to start the cell processing:
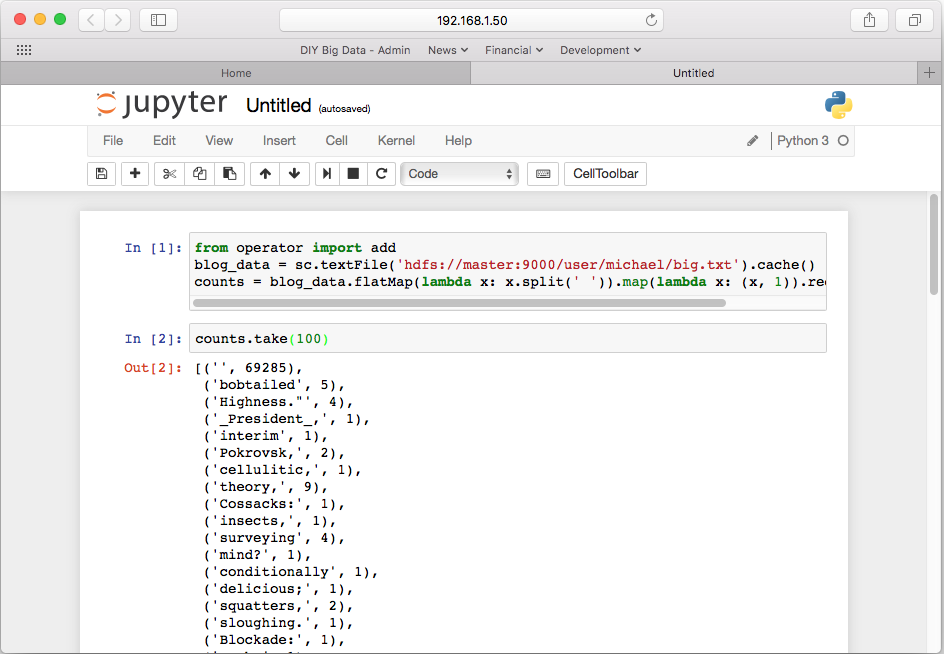
from operator import add
blog_data = sc.textFile('hdfs://master:9000/user/michael/data/blogs_all.xml').cache()
counts = blog_data.flatMap(lambda x: x.split(' ')).map(lambda x: (x, 1)).reduceByKey(add)
A new cell will appear in the notebook. Technically, nothing has happened yet within Spark except for establishing a query plan for executing word count against the blog data set we have already placed into HDFS. Spark does no calculations until there is a need to materialize results. The most common way for doing that is to display a portion of the results. Into the next cell of the notebook, enter this text and press shift-enter:
counts.take(100)
You will notice an asterisk next to the cell the above code was entered into. This asterisk will remain in place while Spark is doing its calculations. If you look back at the terminal session in which you launched the Jupyter software, you will see the log of Spark performing its calculations. Furthermore, if you point your web browser to the URL http:<cluster IP address>:4040/ you can inspect Spark’s internal state using its application interface. When the calculations are done, the first 100 values in the results will be displayed in the Jupyter notebook.
On my cluster, it took about 2.8 minutes to run. This is compared to the 13 minutes word count took when we ran it in Hadoop. This speed difference is the primary reason Spark is increasingly becoming favored over Hadoop for Big Data analytics. The reason for the speed difference is due to Spark caching the entire dataset into RAM as opposed to operating against it with disk reads and writes as Hadoop does. While faster, the RAM caching also represents Spark’s limitation in that it the size of the cluster’s RAM pool limits the size of the data sets that can be analyzed quickly. Spark can analyze datasets larger than the cluster’s RAM pool, but then it will revert to the disk reads and writes similar to Hadoop.
Rename the notebook by clicking the “Untitled” string next to the Jupyter logo in the upper left of the notebook. To save and close the notebook, click on the “File” menu in the page and select “Close and Halt”. To terminate Jupyter, press control-C twice in the terminal steel where you launched it. More information on how to use Jupyter notebooks can be found at the Jupyter site.
2 thoughts on “Installing Spark onto the ODROID XU4 Cluster”